We may earn from vendors via affiliate links or sponsorships. This might affect product placement on our site, but not the content of our reviews. See our Terms of Use for details.
Adjusting print settings, margins and sheet options are all great ways to avoid issues when printing an Excel spreadsheet. Learn how in this guide.
You’ve just sent an Excel spreadsheet to your printer, but when you check it, you discover that the spreadsheet didn’t print right. Maybe it printed in portrait mode when it should’ve printed landscape. Perhaps a certain section of your spreadsheet never printed, or the spreadsheet took too many pages to print.
Whatever went wrong, you can avoid many printing problems in Excel by following certain tips — such as tweaking the margins, setting the print area, scaling the sheet to print and choosing the right sheet options.
For these steps, I’m using Microsoft Excel as part of a Microsoft 365 subscription, but most of the advice here applies to the past few versions of Excel as well.
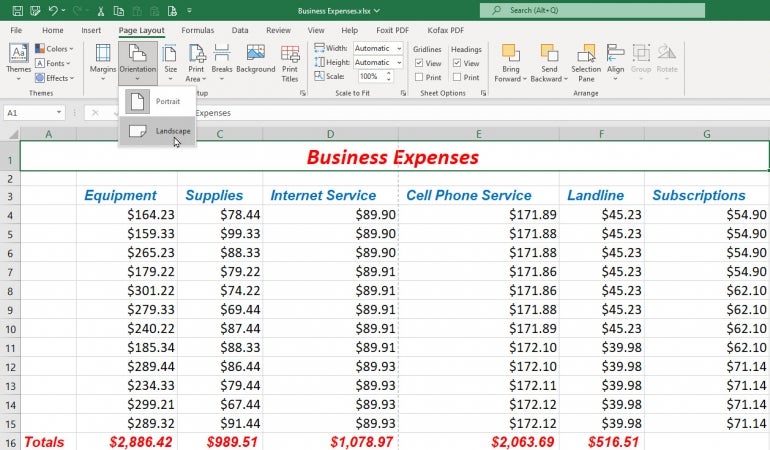
This may seem obvious, but check the orientation before you print. That usually — but not always — means landscape mode. To check this:
Figure A
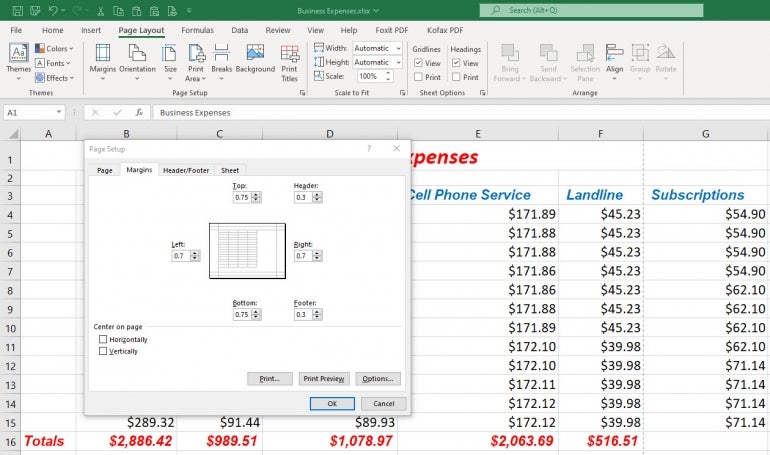
Figure B
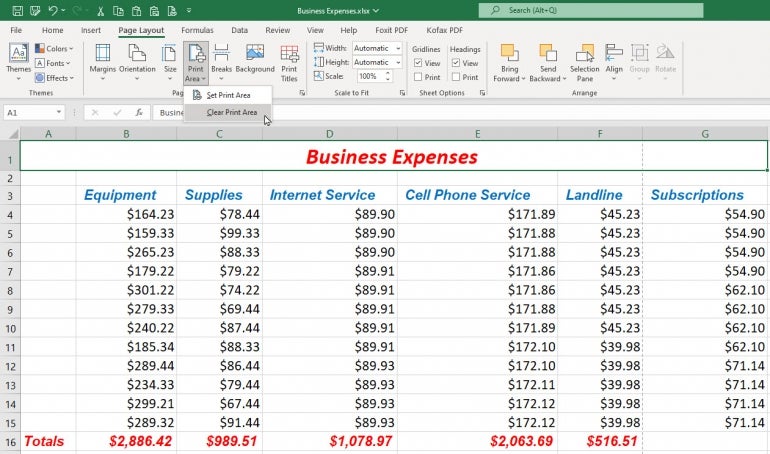
If your Excel spreadsheet isn’t printing properly, clearing or setting a print area can often help. Sometimes the wrong print area has already been set, in which case you want to clear it.
SEE: Explore this side-by-side comparison of Google Workspace vs. Microsoft 365.
Figure C
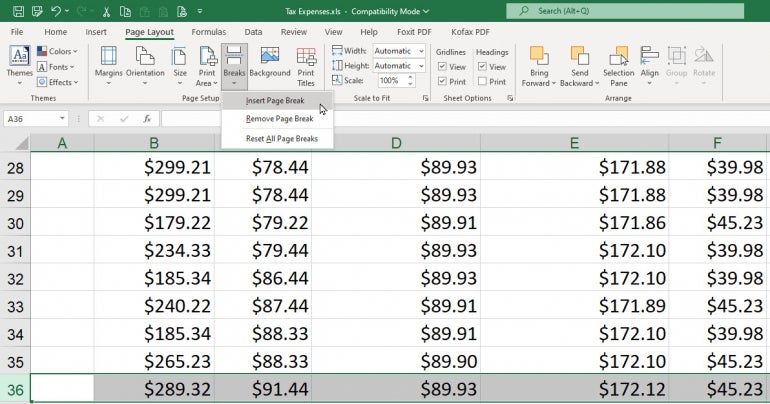
If your spreadsheet contains a lot of rows or columns, it may break at an inappropriate place when you print it. To fix that, you can manually set a page break.
To set a horizontal page break:
Figure D
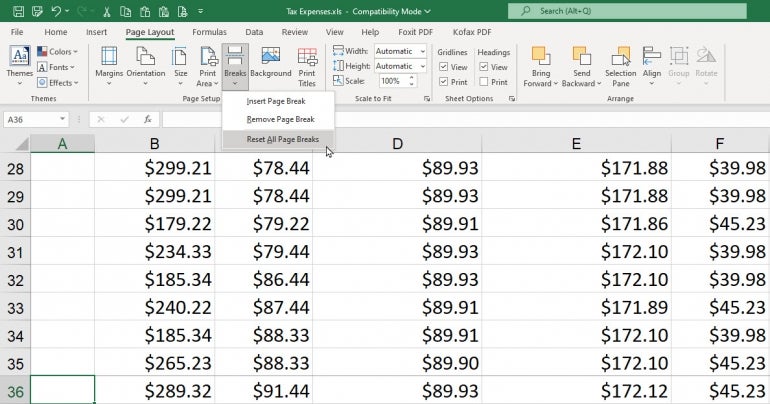
To remove the break, select the same row or column, click the Breaks icon, and select Remove Page Break. If you’ve created multiple page breaks that you want to remove, choose the option to Reset All Page Breaks (Figure E).
Figure E
 page breaks that you want to remove, choose the option to Reset All Page Breaks." width="770" height="404" />
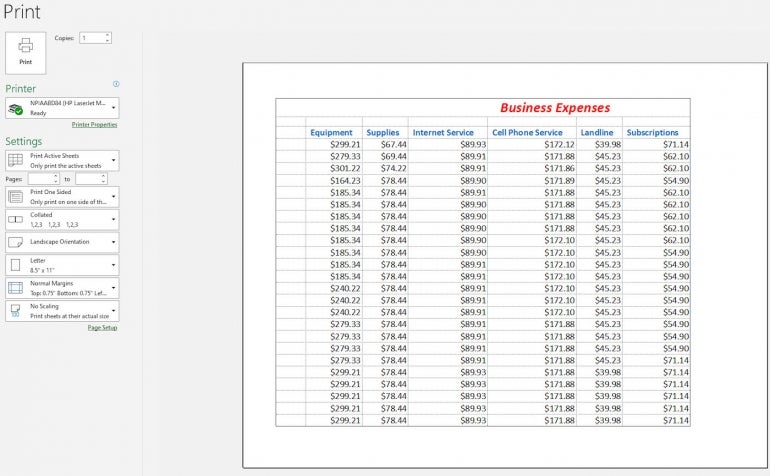
Now might be a good time to see how your spreadsheet will look when printed. Press Ctrl + F2 to jump into Print mode, where you can preview the spreadsheet. You can then bounce from one page to another. When done, click the left arrow at the top to return to regular view (Figure F).
Figure F
SEE: Take advantage of the Name box in Microsoft Excel.
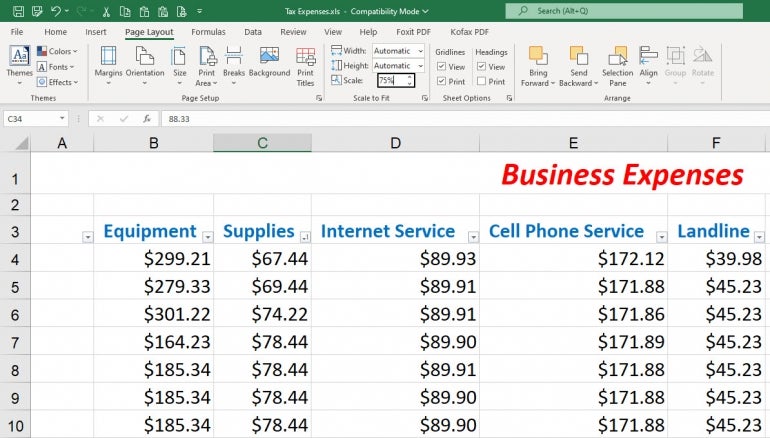
Another way to control the printing on multi-page spreadsheets is by setting a certain width, height or scale:
Figure G
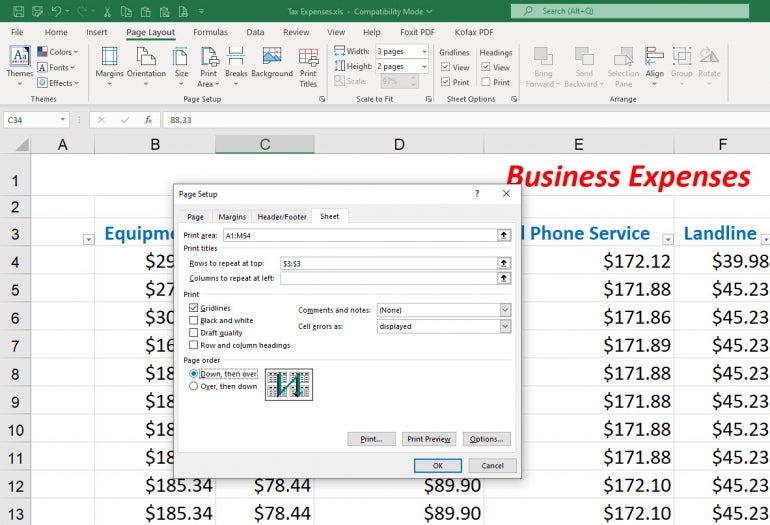
You can tweak your printed pages further by delving into the full Page Setup dialog box.
To get there, click the small square in the lower right corner of the Page Setup section of the Page Layout Ribbon. At the tab for Page, you can adjust the scaling to a certain percentage as you did from the Ribbon, but you can also set a specific number of pages for both the height and the width (Figure H).
Figure H
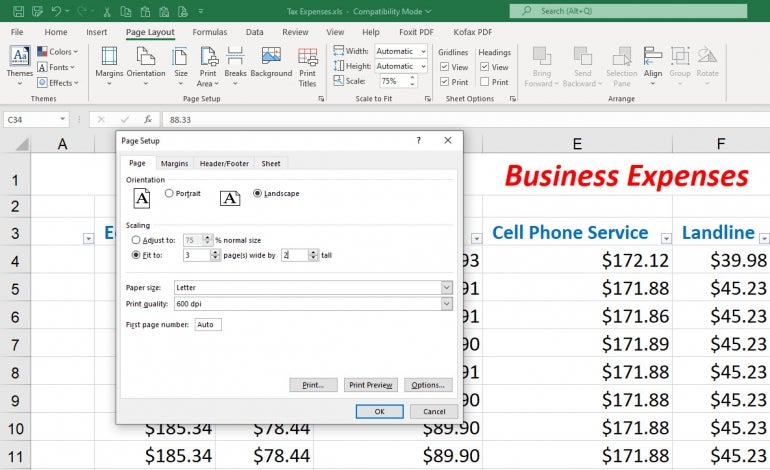
Figure I
From the hottest programming languages to commentary on the Linux OS, get the developer and open source news and tips you need to know. Delivered Tuesdays and Thursdays
From the hottest programming languages to commentary on the Linux OS, get the developer and open source news and tips you need to know. Delivered Tuesdays and Thursdays
Share ArticleLance Whitney is a freelance technology writer and trainer and a former IT professional. He's written for Time, CNET, PCMag, and several other publications. He's the author of two tech books--one on Windows and another on LinkedIn.