
This tutorial will teach you how to protect the entire or parts of your Microsoft Word document by using this feature called ‘Restrict Editing‘. This feature enables you to mark the document as ‘Read Only‘ and still allows edits or changes to the certain selected parts of the document.
Restrict Editing locks certain lines or sentences in the document, which could be important or sensitive and, thus, cannot be edited by anyone. This is how one can protect the content present in an MS Word document.
The unrestricted parts in the document can be made available to anyone, or you can allow permission to certain users only to edit or make changes. You also have an option to protect the entire document and make it Read-Only. Let us see how this can be done.
To begin with, open the MS Word document and click on the ‘Review’ tab.
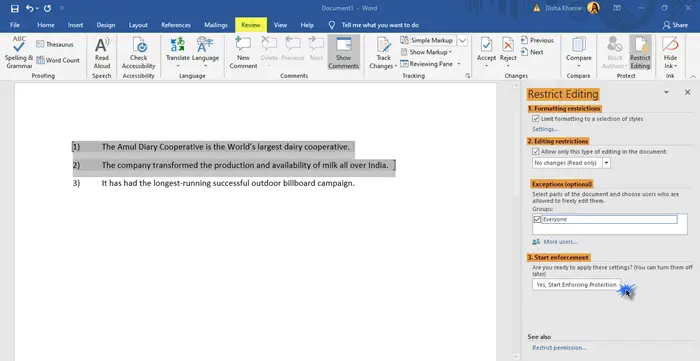
Select the sentences that you do not want the restrict editing feature to be applied. In this case, I have selected Sentences 1 and 2 only. In the Review tab, ‘Protect’ group, click on ‘Restrict Editing’ as shown in the image.
The Restrict Editing dialog box will open. You will see the following:
This setting limits formatting to a certain selection of formats or styles. You can select the styles that you want to be allowed in the document. To apply this, select the checkbox.
Under Editing Restrictions, select the checkbox that says – Allow only this type of editing in the document.
Further, click on the drop-down menu and choose the option ‘No changes (Read Only)’. The document becomes Read-Only except for the selected parts. You can also choose other options such as Tracked changes, Comments, and Filling in forms, depending on what changes you want to allow.
This section allows you to choose the users who can edit the document freely. To allow anyone and everyone to edit the selected part of the document, select the ‘Everyone’ checkbox. You can also separately enter user names, separated by a semi-colon.
To apply all these settings to your MS Word document, click on ‘Yes, Start Enforcing Protection’.
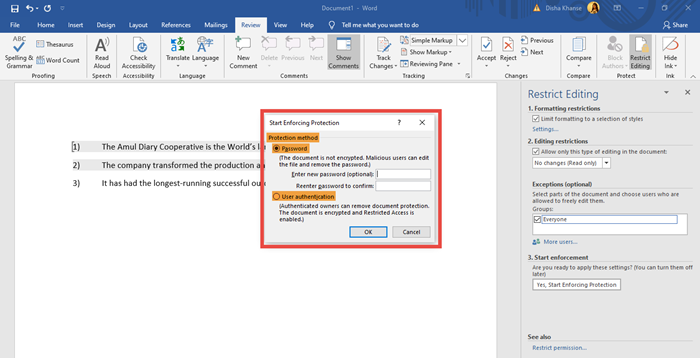
The ‘Start Enforcing Protection’ dialog box will open. You will see two Protection methods – Password and User Authentication. Select the ‘Password’ Protection method and enter and re-enter the generated password in the boxes given. Press OK.
To encrypt the MS Word document, so that only the authenticated owners of the document can remove the protection, click ‘User Authentication’.
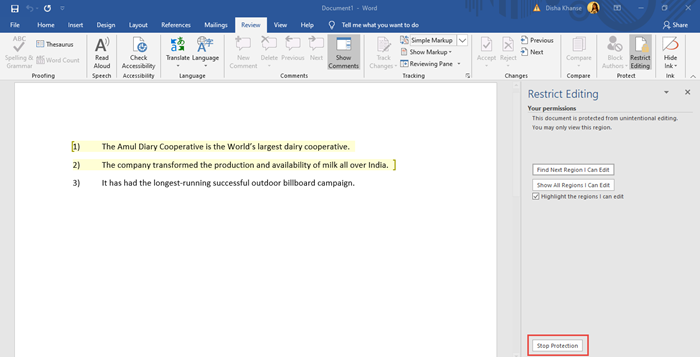
To remove all protection from the document, click on the ‘Stop Protection’ button. If you are prompted to enter the password, type in the password.
Note: To remove all protection from the document, you must know the password that was applied to it or be listed as an authenticated owner. To do so, click on the Review tab > Restrict Editing > Stop Protection.
In this way, you can protect your MS Word document by using the ‘Restrict Editing’ feature from the Review tab.
Updated on June 26, 2024 Tags: Word

Disha is an MBA who loves to dabble with computers. Her love for Windows and Office has now compelled her to start blogging here with us.